
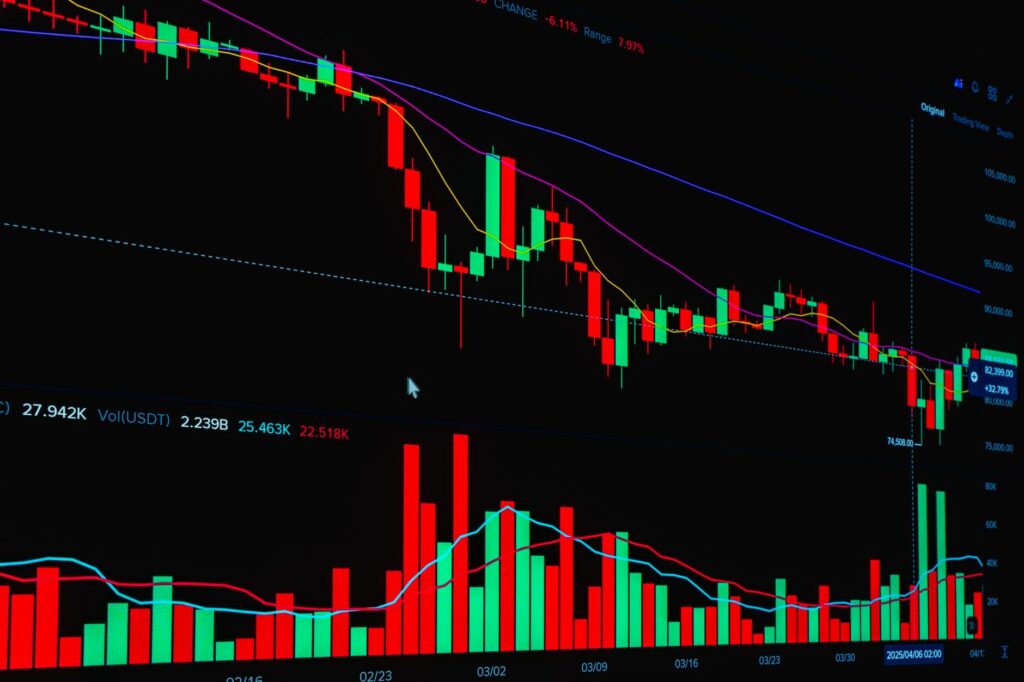
You’ve probably had this happen: you mark a clean candle before a big move, price taps it, and then slices straight through your stop. The real question is: what is an order block in trading when the chart is moving fast and your risk has to sit somewhere logical?
An order block in trading is a price zone where large orders likely initiated an impulsive move. In SMC, it is usually the last opposing candle or tight base before displacement breaks structure, leaving an institutional-origin area price may revisit for mitigation before continuation or reversal.
That definition matters because candles alone are cheap. Context is expensive. A red candle before a rally means very little unless the rally shows intent, takes liquidity, breaks structure, or leaves inefficient price action behind.
Markets move because orders interact with liquidity. News tells you the outcome, but structure helps you locate the origin. For example, MarketIndex reported an S&P 500 jump of 1.5% in a session driven by an AI chip rally, while Bitget reported the Nasdaq edging up 0.01% and Meta rising 4.50% in one daily market note. Those numbers describe movement. They don’t show where serious positioning likely began. That’s the job of structure.
What Is an Order Block in Trading?
SMC Definition: The Final Opposing Candle or Consolidation Before Displacement
In Smart Money Concepts, an order block is the origin zone of an aggressive move. Traders usually mark the last bearish candle before a strong bullish expansion, or the last bullish candle before a strong bearish drop. Sometimes the zone is a small consolidation instead of one candle, especially when price compressed before launching.
The key word is origin. I don’t care about every candle that happens to sit near a swing. I care about the area where price left with force and changed the auction. That means the candle or base must lead to displacement, not a lazy drift.
A bullish zone forms before price rallies away. A bearish zone forms before price sells off. The block itself is normally drawn from the candle body to the wick extreme, or from the full high-to-low range of the base. Some traders refine to the open of the candle, others use the entire range. My opinion is simple: beginners should use the full zone first, then refine later. Precision without context is just decoration.
For a broader foundation on institutional order flow, liquidity, and market structure, read this Smart Money Concepts guide before trying to trade these zones in isolation.
Why Order Blocks Represent Institutional-Origin Zones
The logic behind a smart money order block is that large participants cannot always enter or exit a position at one price. Size needs liquidity. When a larger player accumulates before a rally or distributes before a decline, the chart may print a small opposing candle or a tight base before the real move begins.
That does not mean you can see the institution. You can’t. Retail traders are reading footprints, not watching the actual order book from a prime broker’s desk. The footprint is the relationship between compression, liquidity, expansion, and structure.
Here’s the practical idea. Before a strong bullish move, price may dip into sell-side liquidity, trigger stops below a low, absorb sellers, then rally hard. The last down candle before that launch becomes a candidate demand zone. Before a bearish move, price may raid buy-side liquidity above a high, attract late breakout buyers, then dump. The final up candle becomes a candidate supply zone.
The word “candidate” is important. Every marked zone is unproven until price behavior confirms it.
How Mitigation Works When Price Revisits the Block
Mitigation is the SMC term for price returning to a prior origin zone to rebalance unfinished business. Think of it as a revisit to an area where orders were placed, absorbed, or left partially unfilled during the initial impulse.
A clean bullish example looks like this: price sweeps a prior low, forms a bearish candle, then explodes upward and breaks a swing high. Later, price retraces into that bearish candle. Buyers defend the area, lower timeframe structure shifts bullish, and price continues toward buy-side liquidity.
A bearish example is the mirror image: price runs above a prior high, prints a bullish candle, collapses through structure, then later retraces into that candle. Sellers step in, lower timeframe flow turns down, and price moves toward sell-side liquidity.
Mitigation does not require a perfect wick tap. Price can enter part of the zone, fill the midpoint, respect the open, sweep slightly beyond the wick, or fully invalidate the area. That uncertainty is why risk management matters more than the drawing tool.
Bullish vs Bearish Order Blocks in SMC
Bullish Order Block: Forms Before a Strong Rally and Structure Break
A bullish block is usually the final down candle, or bearish cluster, before a decisive rally. The rally should do real work. It should displace away from the zone, break a meaningful swing high, or create a market structure shift after sweeping liquidity below a low.
Weak rallies don’t qualify. A small bounce from a red candle is only a reaction. A valid bullish zone should make traders who sold late feel trapped. That trapped positioning often fuels the next push when price returns and buyers defend the area.
On a chart, I want to see three things near a bullish candidate: a liquidity grab below an obvious low, a fast move away from the zone, and a structural change that confirms buyers gained control. Use those filters and you’ll mark far fewer zones. Good. Fewer zones means cleaner decision-making.
Bearish Order Block: Forms Before a Strong Selloff and Structure Break
A bearish block is usually the final up candle before an impulsive decline. Price pushes above a prior high, draws in breakout buyers, then reverses with force. The selloff breaks a swing low or shifts market structure bearish.
The best bearish examples often appear in premium territory, meaning price is relatively expensive within the dealing range. That doesn’t make the trade automatic, but it tells you the location makes sense. Selling a bearish origin zone inside premium is cleaner than selling the same zone deep in discount, where price may already be stretched.
Context can come from any liquid market. Forex, crypto, indices, commodities, and stocks all print these patterns because all of them need liquidity to move. The lower the timeframe, the more noise you’ll fight. The higher the timeframe, the more patience you’ll need.
Why the Best Blocks Usually Sit Near Liquidity Sweeps or Imbalances
A zone becomes more interesting when it forms after a stop-run. Liquidity sweeps matter because they show price did more than randomly reverse. It targeted resting orders, triggered participation, then rejected that area.
For a deeper breakdown, study how liquidity sweeps work. Once you understand raids above highs and below lows, order block trading becomes less mystical. You stop asking whether a candle is pretty and start asking whether the market engineered liquidity before moving.
Imbalances also matter. A strong move often leaves a fair value gap, a section of price where buying or selling was so one-sided that the market traded inefficiently. That gap supports the idea that aggressive order flow came from the origin zone. You can learn the companion concept here: what a fair value gap is.
The highest-quality zones usually combine location, liquidity, displacement, and structure. A candle by itself is never enough.
How Do You Validate a Smart Money Order Block?
Displacement Away From the Zone With Strong Momentum
Displacement is the first serious filter. Price should leave the zone with speed, wide candles, minimal overlap, and visible imbalance. A slow grind away from a candle does not tell me much. A sharp expansion does.
Look at the personality of the move. Strong displacement often closes beyond nearby highs or lows, creates a gap-like inefficiency, and gives very little time for late traders to enter comfortably. That urgency is the point. It suggests one side overwhelmed the other.
In crypto, for example, a sharp Bitcoin move away from a four-hour base can matter more than a dozen tiny reactions on a five-minute chart. In FX, a London or New York impulse from a key zone often carries more information than a dead Asian session drift. Session behavior matters because liquidity changes during the trading day.
Break of Structure or Market Structure Shift After the Move
A break of structure confirms that price did more than bounce. In a bullish case, price should break a prior swing high. In a bearish case, price should break a prior swing low. A market structure shift is often the first sign that control has changed hands after a sweep.
There is a difference between a minor internal break and a major structural break. Internal breaks help with entries. Major breaks define bias. Mixing them up is one reason traders buy into bearish order flow or sell into bullish order flow.
My working process is simple: higher timeframe for bias, trading timeframe for the zone, lower timeframe for entry confirmation. That keeps me from treating a tiny one-minute reaction as more important than a daily range.
Liquidity Sweep Context Plus a Clean Imbalance or Fair Value Gap Nearby
The strongest setups often start with a raid. Price runs a high or low, reverses aggressively, breaks structure, and leaves an imbalance near the origin. That sequence gives you a story: liquidity was taken, trapped traders were created, and price moved away inefficiently.
A clean fair value gap near the zone can act as a magnet during retracement. Price may return to fill part of the gap, tag the block, and then continue. The gap alone is not the trade. The zone alone is not the trade. Together, inside the right market structure, they become a higher-quality decision area.
External market commentary often focuses on catalysts after the move. For instance, FXEmpire described AI names lifting indices while most sectors weakened. That kind of breadth detail is useful, but the chart still has to show where displacement began and where liquidity sits next.
How to Identify Order Blocks Without Marking Every Candle
Start With Higher Timeframe Bias, Trend, and Liquidity Targets
Most bad order block analysis starts with zooming in too far. Traders open a five-minute chart, mark every opposing candle, and wonder why price ignores half of them. The better approach starts from the top down.
Mark the current dealing range. Identify the swing high and swing low that matter. Decide whether price is in premium or discount. Then locate obvious liquidity pools: equal highs, equal lows, prior day highs and lows, weekly extremes, old session highs, and clean trendline liquidity.
Bias does not mean prediction. It means preference. In an uptrend, bullish origin zones in discount deserve more attention than bearish zones buried low in the range. In a downtrend, bearish supply in premium usually deserves more respect than demand zones fighting the broader flow.
Mark Only Zones That Created Displacement and Structure Change
To keep the chart clean, apply a strict standard. The zone must cause an impulsive move. The move must break something meaningful. The location should make sense relative to liquidity. A nearby imbalance helps.
Here is a practical checklist:
- Location: Is the zone in premium, discount, or near a major higher timeframe level?
- Liquidity: Did price raid stops before reversing from the area?
- Expansion: Did price leave with wide candles and low overlap?
- Structure: Did the move break a swing or shift market direction?
- Return path: Is price retracing cleanly, or is it grinding back with heavy pressure?
That last point gets ignored. A clean retracement into a zone is different from a violent return that erases the entire impulse. When price comes back too aggressively, the original area may be under attack rather than being respected.
Refine Entries on Lower Timeframes With Confirmation
Lower timeframe confirmation is where many traders improve their execution. Instead of entering the moment price touches the zone, they wait for evidence inside it. That evidence may be a sweep of internal liquidity, a small structure shift, a rejection candle, or a break of a micro swing.
For a bullish entry, price might dip into the higher timeframe demand zone, sweep a minor low inside it, then reclaim the internal structure. For a bearish entry, price might push into supply, take a minor high, then break down.
This approach can reduce unnecessary entries, but it has a trade-off. Waiting for confirmation sometimes means missing the clean tap. That’s acceptable. I’d rather miss a trade than pretend every first touch deserves capital.
Order Block vs Support and Resistance
Support and Resistance Are Repeated Reaction Levels
Traditional support and resistance focuses on levels where price has reacted multiple times. A resistance level rejects price from above. A support level attracts buyers below. These levels are useful, especially when they align with higher timeframe structure, volume, or obvious swing points.
The weakness is that repeated levels become visible. When every trader sees the same support line, stops often build beneath it. When every breakout buyer sees the same resistance line, buy stops build above it. Smart Money Concepts treats those visible areas as liquidity, not only as barriers.
Order Blocks Are Specific Origin Zones Tied to Displacement
An order block vs support resistance comparison comes down to specificity and cause. Support and resistance mark reaction areas. Order blocks mark the likely origin of an impulsive move that changed structure.
A support level may contain several bounces. A bullish institutional-origin zone should be tied to one important launch point. A resistance level may reject price again and again. A bearish origin zone should connect to the candle or base that triggered the selloff.
This is one reason I prefer zones over thin lines. Price is an auction, not a laser. Spreads widen, wicks raid levels, and executions differ across venues, especially in crypto. A zone gives the idea breathing room while still defining invalidation.
Why Order Blocks Need Context Instead of Simple Level Touches
A simple level-touch strategy treats contact as enough. SMC demands more. The zone should sit in a logical part of the range, connect to liquidity, and show evidence that one side gained control.
Blind first touches can work occasionally, but they teach bad habits. The trader starts believing the rectangle is magic. It isn’t. A failed zone often looks beautiful right before it breaks.
Think of support and resistance as map coordinates. Think of institutional-origin zones as areas where the market previously revealed aggressive intent. Both can matter. The edge comes from knowing which one you are trading and why.
A Simple Order Block Trading Model
Define Trend, Premium/Discount, and the Likely Liquidity Target
Start with the higher timeframe trend. Mark the current swing range from the most relevant low to high, or high to low. Then divide the range mentally into premium and discount. In bullish conditions, discount demand zones are usually more attractive. In bearish conditions, premium supply zones are usually cleaner.
Next, define the likely draw on liquidity. Price often seeks prior highs, prior lows, equal highs, equal lows, or obvious session extremes. A trade without a liquidity target is just a hope with a stop loss attached.
For crypto traders, the same framework applies to Bitcoin and Ethereum, but volatility demands wider thinking. A zone on BTC can be technically valid and still require poor risk-to-reward if the invalidation is too wide. Position size has to adjust. For market-specific context, see this guide on how to trade Bitcoin.
Wait for Return, Confirm Reaction, and Avoid Blind First-Touch Entries
Once a valid zone is marked, patience starts. Price may never return. That’s fine. Chasing the move after it has already displaced usually leads to poor entries near liquidity targets rather than near origin.
When price returns, watch how it enters the area. A controlled pullback is healthier than a full-speed reversal into the block. Inside the zone, look for lower timeframe evidence: a small raid, rejection, structure shift, or recapture of a micro level.
Some traders use limit orders at the edge of the zone. Others wait for confirmation and enter later. Both approaches can be valid, but they produce different trade-offs. Limit entries offer better price and more false starts. Confirmation entries offer more information and sometimes worse price.
Place Invalidation Beyond the Block and Target Opposing Liquidity
Invalidation belongs beyond the zone, not inside it. For a bullish setup, the stop usually sits below the low of the block or below the sweep low that created it. For a bearish setup, the stop usually sits above the high of the block or above the raid high.
Stops placed inside the zone often get tagged by normal mitigation. Traders then watch price move in the expected direction without them. That’s avoidable. The whole point of a zone is that price can trade within it before rejecting.
Targets should be based on opposing liquidity. A bullish setup may aim for equal highs, a prior swing high, or buy-side liquidity above the range. A bearish setup may target equal lows, a prior swing low, or sell-side liquidity below the range. Partial exits, trailing stops, and time-based exits can all be used, but the initial target should come from the chart’s liquidity map.
Common Order Block Trading Mistakes
Using Unconfirmed Zones Without Displacement or Structure Break
The biggest mistake is marking every final red candle before a green candle and calling it demand. That’s lazy analysis. Without displacement and structure change, the zone is just a candle.
A failed bullish block often has a familiar look. Price leaves the area weakly, never breaks a meaningful high, returns quickly, pauses for a few candles, then breaks through. Traders who bought the first touch realize too late that the original move lacked sponsorship.
A failed bearish block behaves the same in reverse. Price sells off from a bullish candle, but the drop is choppy and shallow. No major low breaks. Price returns, absorbs sellers, then pushes higher through the supposed supply. The failure was visible before the stop was hit.
Ignoring Higher Timeframe Direction and Liquidity Context
A lower timeframe zone can be technically valid and still sit in a terrible location. Buying demand into a higher timeframe premium, directly below major buy-side liquidity, is dangerous. Selling supply in deep discount, right above obvious sell-side liquidity, is just as suspect.
The higher timeframe does not need to be perfectly aligned, but it should not be ignored. A five-minute bullish setup has a different quality when it forms inside a daily demand zone than when it forms into weekly resistance after a massive rally.
I’ve watched enough charts across forex and crypto to respect this one rule: context filters more bad trades than entry patterns ever will. Retail traders obsess over the trigger. Professionals care first about location.
Placing Stops Inside the Order Block Instead of Beyond Invalidation
The third mistake is risk placement. Traders want a tight stop because tight stops create attractive reward-to-risk screenshots. The market does not care about screenshots.
A proper stop should sit where the trade idea is wrong. For a bullish setup, a wick into the zone is not automatically wrong. A full break below the origin, especially after bearish structure forms, is more meaningful. For a bearish setup, a push into the block is normal. A clean acceptance above it changes the story.
This is also where position sizing matters. A wider invalidation does not mean larger risk. It means smaller size. The dollar risk should be decided before the entry, not emotionally adjusted after price starts moving.
The real failure case is believing order block smc analysis removes uncertainty. It doesn’t. It organizes uncertainty. A valid zone can fail because higher timeframe flow shifts, news injects volatility, liquidity sits beyond your stop, or the original move was only a short-term reaction. Good traders plan for that before entry.
FAQ
What is an order block in trading?
An order block in trading is an SMC zone where institutional activity likely caused a major move. It is usually the final opposing candle or small consolidation before impulsive displacement that breaks structure, leaving a zone price may revisit for mitigation before continuing.
How do I identify a valid order block?
A valid zone should create strong displacement, break structure or cause a market structure shift, and ideally appear after a liquidity sweep. The strongest examples often leave a nearby imbalance or fair value gap, showing price moved away inefficiently from the area.
What is the difference between an order block and support or resistance?
Support and resistance are broad levels where price has reacted repeatedly. An order block is more specific: it marks the origin of an institutional-style move tied to displacement and structure. SMC traders use it as a decision zone, not just a horizontal reaction level.
Can order blocks be used on any timeframe?
Yes, they can appear on all timeframes, from monthly charts to one-minute charts. Higher timeframe zones usually carry more weight because they reflect larger order flow. Lower timeframe zones can work, but they require tighter execution, clearer confirmation, and stricter risk control.
Should I enter as soon as price touches an order block?
Entering blindly on the first touch is risky. Many traders wait for a lower timeframe reaction, such as a market structure shift, rejection, or liquidity sweep inside the zone. This helps confirm the area is being respected before defining risk and targeting opposing liquidity.
The next time you mark a zone, ask a better question: did this area actually cause displacement, break structure, and connect to liquidity, or am I just drawing rectangles because price moved away once?
Trading involves risk, and this guide is for educational purposes only. It is not financial advice or a recommendation to buy or sell any market.